
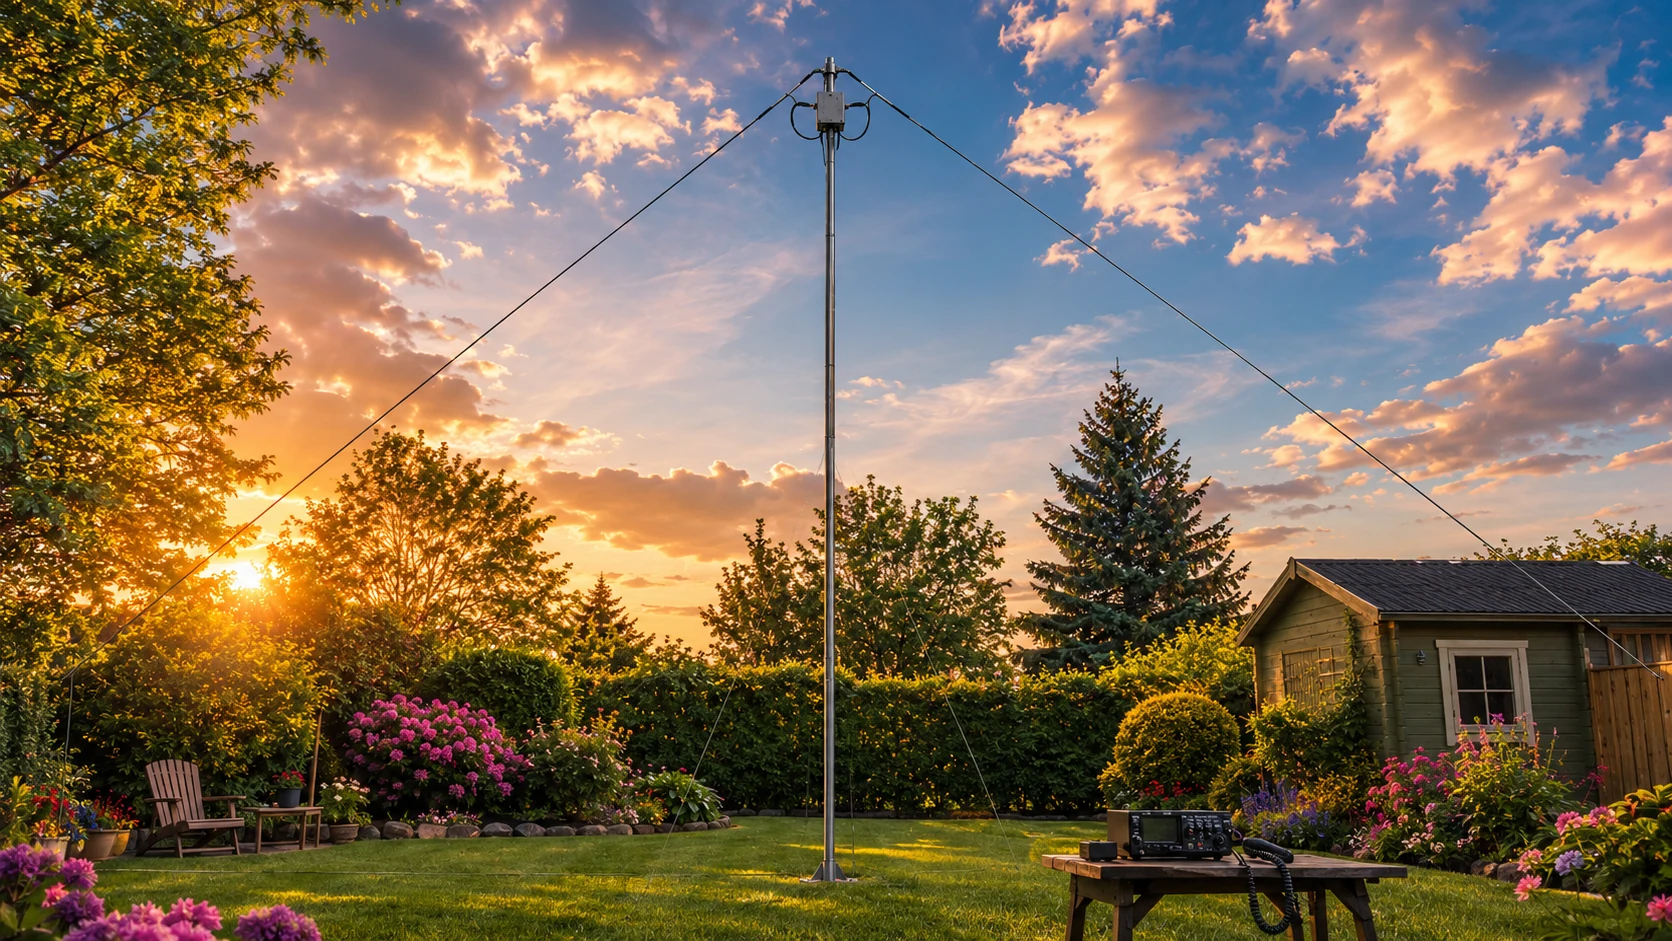
A multiband dipole sounds like a very convenient solution: put it up, connect coax and use several HF bands with one antenna. In my garden, however, the installation was anything but straightforward. Running it as an inverted-V took quite a bit of experimenting because the available space is very limited.
My Kelemen multiband dipole has two legs of roughly 11 metres each. The feed point and balun sit on a mast that is about 13 metres high. On paper that is a nice setup. In a small garden, though, theory quickly meets a very practical question: where can I actually put both 11-metre legs?
The real challenge: very little space
My goal was a reasonably clean inverted-V with an opening angle of about 90 degrees. That turned out to be difficult. My garden is simply too small to route both 11-metre legs exactly the way I would have liked in theory.
A perfectly symmetrical layout was not possible either. I had to route the wires according to the available property, trees, buildings and attachment points. That is not ideal, of course – but it is also the reality of many home amateur-radio antennas.
This is exactly why I do not treat the published antenna dimensions as the final answer. Height, angle, surroundings and the actual routing of the legs can visibly change the behaviour of the antenna.
10, 15, 20 and 40 metres: basically usable
On 10, 15, 20 and 40 metres the antenna works reasonably well for me. The resonances are not perfect everywhere, but the bands can at least be matched with the tuner and used in normal operation.
With my current installation, SWR is roughly between 2.0:1 and 2.8:1 depending on the band. I can work with that, but I am not finished yet. I see it as the current state of the project rather than the final result.
Despite those less-than-perfect numbers, the antenna works really well for me. It is definitely not just a NanoVNA tuning project: I have already made several enjoyable DX contacts across the Atlantic with it. For me, that is a useful reminder that a perfect 1.0:1 SWR is not automatically the only measure that matters. What counts in the end is how the antenna performs on the air.
80 metres was the real problem in my installation
The 80-metre band was noticeably more difficult. Because my antenna cannot be installed in an ideal geometry, the resonance ended up away from the part of the band where I wanted it. A tuner alone was no longer a sensible answer.
For my installation that means the outer 80-metre section still needs to be electrically shortened and tuned. I explicitly do not cut the wire. Instead I fold the excess wire back on itself and secure it, for example with cable ties. This reduces the effective length seen by the antenna while keeping the complete wire intact. I can therefore approach the desired resonance in small steps and undo an adjustment at any time.
I would not tune it without a NanoVNA
For this kind of work, a NanoVNA or comparable antenna analyser is almost essential for me. The SWR meter in the radio tells me whether a single frequency looks good or bad, but it does not conveniently show me where the actual resonance has moved.
With a VNA I can immediately see the curve across a wider frequency range. That mattered a lot in my case because height, angle and the non-ideal routing of the legs had shifted the resonance noticeably. Only then could I decide where an adjustment actually made sense.
The traps still offer room for fine tuning
I also want to improve SWR on the bands that are already usable. On this Kelemen dipole the traps can be influenced carefully. The antenna instructions describe gently forming them slightly oval by hand to make small changes to the tuning.
For me this is clearly fine adjustment: make a small change, measure again and see what actually happened. I would never change several things at the same time, otherwise it becomes impossible to know which adjustment caused which result.
What I still want to improve on the mast
There is one thing I would plan differently from the start today: being able to lower the balun and feed point without taking down the entire mast.
When tuning an antenna, I need access to the wire, connections and sometimes the traps. With a 13-metre mast, lowering everything for every small change turns a quick adjustment into a much larger job.
So one item on my list is a simple system similar to a flagpole halyard: the balun should remain secure at the top during operation, but be lowered in a controlled way with a line or pulley whenever I need access. That would make future tuning sessions much easier.
What I learned from the installation
- Published dimensions are a starting point, not a guaranteed final result. The real environment changes resonance.
- A NanoVNA saves a huge amount of time. I can immediately see where resonance has moved.
- Make small changes. Electrically shorten, reshape or reroute one thing at a time and then measure again.
- The mast should be maintenance-friendly. A feed point that can be lowered is extremely useful during later tuning.
- Even a non-ideal installation can work very well. I can already use 10, 15, 20 and 40 metres although my garden does not allow ideal geometry.
My current conclusion
Despite the tuning work still ahead, the Kelemen multiband dipole is a very interesting antenna for me. Covering several bands with one wire system is especially attractive in a small garden. At the same time, the installation showed me very clearly that a multiband antenna does not automatically mean everything will be perfect after the first time it is raised.
At the moment I can already use 10, 15, 20 and 40 metres well, and the antenna has already given me several enjoyable DX QSOs across the Atlantic. On 80 metres I still need the final adjustment by carefully electrically shortening the outer section – folding back and securing the wire instead of cutting it. I also want to improve the SWR on the other bands. The next major improvement will probably be the mast mechanism first: once I can lower the balun like a flag, every future tuning round will be far more relaxed.
And that is part of amateur radio for me: build, measure, experiment, change things – and understand my own station a little better with every step.