
Yaesu FTX‑1 Firmware Update: Step‑by‑Step Guide (including Optima Module)
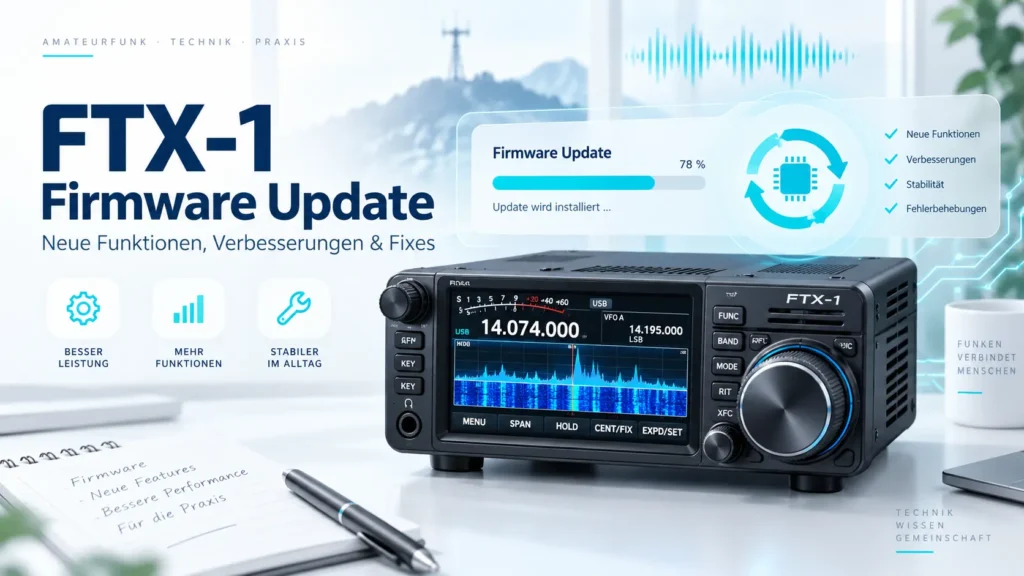
The Yaesu FTX‑1 is a modular transceiver in which the field‑head (the main unit) and the optional Optima amplifier module (SPA‑1) each have their own firmware. Since the mid‑2025 release, Yaesu has been issuing regular updates that fix critical bugs and add features such as WIRES‑X Direct Node or ADMS‑19 support. Running without the latest firmware not only limits performance but also misses important improvements. This guide explains which updates exist, why they matter, and how to safely and correctly apply the firmware update to both the field‑head and the Optima module.
Why a Firmware Update Is Worthwhile
Yaesu has released three major firmware packages since the first large update in June/July 2025:
- Mid‑2025: introduced APRS messaging, ATAS‑120 support, HF antenna‑jack display, and GPS corrections.
- March 2026: main update (MAIN v01‑12) with a critical fix that otherwise reduced the output power of a connected SPA‑1 Optima unit on 2 m and 70 cm. It also added native WIRES‑X support without the HRI‑200 interface.
- 28 August 2026: latest package (MAIN v01‑13, OPT v01‑14) adding ADMS‑19 programming‑software support.
Key benefits at a glance:
- Power fix for SPA‑1: without the March 2026 update the Optima module delivers only about 50 % of the rated power on 144 MHz and 430 MHz.
- WIRES‑X Direct Node: you can run the FTX‑1 as a WIRES‑X node without the expensive HRI‑200 interface.
- ADMS‑19 support: modern programming software can connect to the transceiver again.
- APRS improvements and GPS corrections increase reliability in mobile operation.
What You Need for the Update
- microSD card: SDHC cards from 2 GB to 32 GB. The card must be formatted inside the transceiver – this avoids file‑system incompatibilities.
- Card insertion: slide the card into the side slot with the black contacts facing up (the printed side down).
- Power supply: the update cannot be performed solely from the internal battery (SBR‑52LI). Connect the field‑head to a stable external power source. For the Optima update the whole system (field‑head + SPA‑1) must be externally powered.
- Backup: a full reset is required after each complete firmware pass. Export your channels, memory, and VFO settings before starting the update.
Downloading and Preparing the Firmware Files
All official firmware packages are available on Yaesu’s website. The current version (as of 28 August 2026) is named FTX-1_ENG_Firmware_update_20260828.zip. The archive contains several .SFL files, each representing a firmware component:
- DISPLAY
- MAIN
- DSP
- SDR
- OPT (only for the SPA‑1 module)
Extract the ZIP on your PC and copy the .SFL files exactly into the /FTX-1/ directory on the microSD card. The transceiver creates this folder automatically the first time you open the update menu. Do not place the files in the root directory or any other folder – otherwise the update will not be detected.
Update Process for the Field‑Head (without Optima)
The steps differ slightly depending on which firmware version is currently installed.
1. Check the Firmware Version
From the main menu select EXTENSION SETTINGS → SOFT VERSION. Note the displayed version numbers (e.g., MAIN v01‑11). If your unit still runs the factory firmware V01‑00, you must use a special start‑up trick (see below).
2. Special Procedure for V01‑00
With V01‑00 the regular update menu does not work. Power the unit on, then hold the F1 and F2 keys (the two upper function keys) simultaneously until the start‑up logo appears. This puts the transceiver into “boot mode”, from which you can access the normal update menu.
3. Open the Update Menu and the “DONE” Button
Navigate to SD CARD → FIRMWARE UPDATE. The DONE button is counter‑intuitive: press it to open the file‑selection window, not to finish the process. When the file list appears, select the four components DISPLAY, MAIN, DSP and SDR. Leave the checkbox for OPT unchecked.
4. Start the Update
Confirm the selection and start the update. The transceiver flashes each component in turn. The display will blink and the unit will power off and on several times – this is normal. Wait until the message UPDATE COMPLETE appears.
5. Restart
After the first pass finishes, turn the unit off, remove the microSD card, and re‑insert it. This ensures a clean restart and prepares the system for the second pass (OPT) if you are using an Optima module.
Update Process for the Optima Module (SPA‑1)
The Optima module has its own firmware component (OPT). It must not be flashed together with the other four components – doing so often produces errors or aborts the update.
1. Connect the System
Link the field‑head to the SPA‑1 amplifier with the DATA‑IN/OUT cable and make sure both units are powered from an external source. The internal battery must not be the sole power source.
2. Second Update Pass
Open SD CARD → FIRMWARE UPDATE again. This time select only the OPT file (version V01‑14 for the current release). All other checkboxes remain unchecked.
3. Start and Finish
Confirm and let the process run. When the message OPT UPDATE COMPLETE appears, turn the system off, remove the microSD card, and re‑insert it – this ends the flashing operation.
Full Reset and Restoring Settings
After the complete firmware cycle (field‑head + Optima) a full reset is mandatory to initialise the new versions correctly. The reset procedure, as described in the manual, is:
- Turn the unit off.
- Hold the
F1andF2keys. - Power the unit on while still holding the keys.
- After about three seconds the message
RESET DONEappears. Release the keys.
You can now import your saved channels and VFO settings. The transceiver will start with the latest firmware features and the corrected output power.
Common Pitfalls and Tips
- Wrong target folder: the firmware files must reside in the
/FTX-1/folder. Files placed elsewhere are not detected. - Only one update pass: do not try to flash all five components at once. The OPT part must be updated separately after the first pass.
- Unsuitable microSD cards: cheap non‑SDHC cards can cause errors during the OPT update. Use a card that has already been formatted by the transceiver.
- Power supply: updating on battery power can lead to interruptions and may damage the unit. Always connect an external source.
- Regional firmware packages: Yaesu releases different packages for USA and EXP/EU versions. Make sure you download the package that matches your unit’s configuration.
Checklist for the Next Field Day
To avoid surprises on the day of operation, verify the following:
- microSD card formatted and populated with the current
.SFLfiles in the/FTX-1/folder. - External power available (e.g., 12 V battery or mains supply).
- All settings backed up (channels, memory, VFO data).
- First update pass (DISPLAY, MAIN, DSP, SDR) completed.
- Unit restarted, then second pass (OPT) for SPA‑1 completed.
- Full reset performed and settings re‑imported.
- Function test: check output power on 2 m and 70 cm, start WIRES‑X node, test ADMS‑19 connection.
When all steps are done, your FTX‑1 runs the latest firmware, delivering both maximum performance and full functionality.
More amateur radio, technology and practical articles are available on DA6IT.de.